
How to Plan a Walk-In Shower Remodel From the Ground Up
Key Takeaways
- Start with everyday needs, room measurements, and drainage requirements before selecting finishes.
- Low thresholds, grab bars, seating, lighting, and slip-resistant floors can improve safety without making the room feel clinical.
- Waterproofing, a properly connected drain, and a sloped floor are fundamental parts of a durable shower.
- Keeping plumbing near its existing location may simplify the project and help manage costs.
- A detailed plan reduces last-minute changes, scheduling problems, and avoidable repairs.
A walk-in shower remodel can make a bathroom more comfortable, easier to clean, and better suited to changing needs. The strongest results come from planning the room, drainage, safety features, and materials before choosing finishes. Homeowners comparing replacement options can learn more about shower remodeling choices before committing to a design.
Whether the project involves replacing an aging shower, converting a tub, or creating a lower-entry space, the goal should be a shower that works reliably every day. A beautiful tile pattern matters, but it cannot make up for poor water control, limited storage, or an awkward layout.
Start With Your Main Goals
Write down what frustrates you about the current bathroom. You may need easier entry, better storage, less grout to clean, more elbow room, or a visual update. These goals lead to different decisions. For example, a homeowner who struggles with stepping over a tub wall may benefit more from a low-threshold shower and secure grab bars than from a larger footprint.
Prioritize the daily experience first. Consider who uses the shower, where towels and toiletries will go, whether a shower door feels practical, and how much cleaning the household is willing to do.
Measure the Space Before Choosing Products
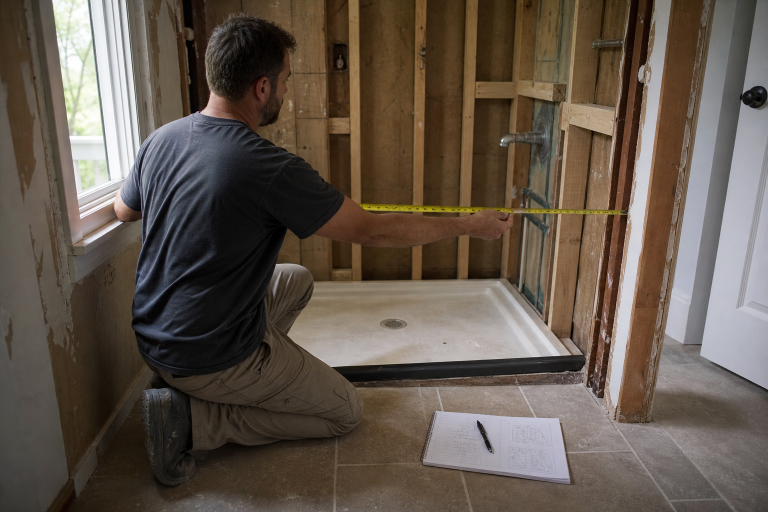
Measure the existing shower or tub area, the full bathroom, ceiling height, door swing, and the distance to the toilet and vanity. Make a simple sketch, label every measurement, and take photos of the walls, plumbing, windows, outlets, and exhaust fan.
Usable interior dimensions can be smaller than a product listing suggests once wall backing, waterproofing layers, tile, trim, and glass hardware are installed. Plumbing locations and framing may also limit where a new drain, niche, bench, or control valve can go.
Choose a Layout That Fits the Room
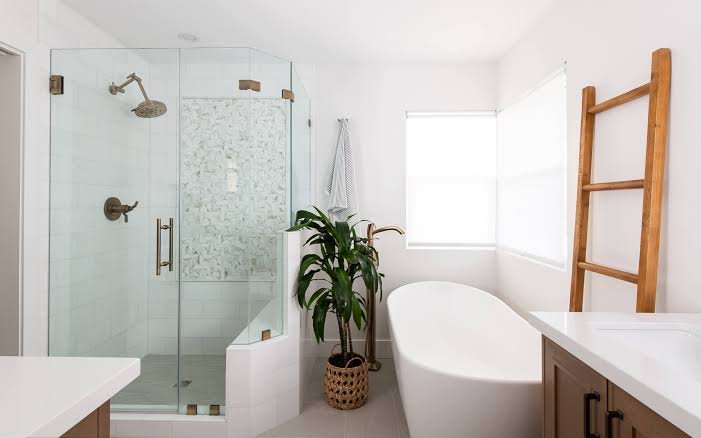
Common layouts include a standard enclosed shower, a walk-in shower with a fixed glass panel, a low-threshold enclosure, a curbless shower, and a tub-to-shower conversion. Each affects splash control, privacy, cleaning, and construction complexity. Practical layout and drainage planning can help homeowners weigh those trade-offs before demolition begins.
A doorless design can create an open look, but it requires sufficient depth and thoughtful showerhead placement to keep water contained in the wet area. A glass door may improve containment in a compact bathroom, while a fixed panel can reduce the hardware and tracks that need cleaning.
Plan for Safety and Easy Access
Safety features should be part of the design, not an afterthought. Useful options include a low or zero-threshold entry, textured flooring, properly supported grab bars, a built-in or fold-down seat, handheld shower controls, reachable storage, and bright lighting that avoids harsh glare.
Plan control placement carefully. Being able to turn on the water before standing directly under it can make the shower more comfortable. If future accessibility is a concern, ask the installer to add wall blocking where grab bars or a seat may be installed later.
Make Waterproofing a Priority
Tile and grout are finish materials, not the entire moisture-management system. A complete shower assembly requires a properly sloped floor, a drain connection, a waterproof layer, sealed seams and corners, and protected wall transitions. Modern curbless shower systems show how slope, drainage, and waterproofing must work together when there is no raised curb to contain water.
Questions to Ask an Installer
- Which waterproofing method will be used behind the finished surfaces?
- How will corners, seams, niches, and pipe openings be sealed?
- How will the drain connect to the waterproof layer?
- How will the floor be sloped toward the drain?
- What will be checked before the walls and floor are covered?
Compare Shower Wall and Floor Materials
Tile offers broad design flexibility and can be repaired in small areas, but grout lines need regular care. Acrylic and composite wall panels have fewer seams and can simplify cleaning. Large-format porcelain can reduce grout joints on walls, while natural stone may require more specialized care depending on the product and finish.
For shower floors, traction deserves as much attention as appearance. Smaller tiles can follow a sloped floor more easily and create more grout joints underfoot. Choose a floor material and finish intended for wet locations, then confirm the maintenance routine before buying.
Build a Realistic Project Budget
Project cost depends on the room size, demolition, disposal, plumbing changes, repairs to framing or subflooring, waterproofing, finish materials, glass, fixtures, safety accessories, permits, and local labor. A cosmetic refresh is different from a full replacement that exposes walls and moves drains.
Set aside a contingency amount for hidden damage or outdated plumbing discovered after demolition. Keeping the shower valve and drain close to their current locations may reduce the amount of work required, although the final scope depends on the existing structure.
Follow the Installation Sequence
- Confirm the design, measurements, materials, and fixture locations.
- Determine whether permits or inspections are required for the work.
- Protect nearby finishes, then remove the old shower or tub.
- Inspect and repair framing, subflooring, plumbing, and ventilation.
- Install the base, drain, backing, and waterproofing system.
- Finish walls and floors, then add fixtures, glass, lighting, storage, and safety accessories.
- Test drainage, water flow, seals, controls, and exhaust ventilation before final sign-off.
Avoid Common Shower Remodel Mistakes
- Selecting finishes before confirming the layout and drain plan.
- Ignoring the water-spray direction in an open shower design.
- Forgetting niches, shelves, or hooks until surfaces are complete.
- Choosing a smooth floor finish for a frequently wet area.
- Skipping wall support for future grab bars or seating.
- Assuming grout alone protects the structure from moisture.
- Overlooking ventilation and the effects of repeated steam exposure.
Maintain the Finished Shower
After installation, use a squeegee or soft cloth on wet glass and walls, keep the drain clear, and clean fixtures with non-abrasive products suited to their finish. Check caulk, grout, and seals periodically for cracks or gaps, and run the exhaust fan during and after showers to help remove moisture.
Musty odors, loose tile, peeling paint, soft flooring, or staining on a nearby ceiling can indicate moisture where it does not belong. Address small seal failures promptly, before water reaches framing or subfloor materials.
Conclusion
A successful walk-in shower remodel balances comfort, safety, water control, maintenance, and budget. The best design is not simply the most dramatic one. It is the one that fits the room, supports everyday routines, and remains dependable for years to come.